Trệzor® - Starting Up Yóur Device - Trệzor®
Trezor.io/Start – The Complete Guide to Setting Up Your Trezor Wallet
When it comes to storing your cryptocurrencies securely, a hardware wallet is one of the safest solutions available. Trezor.io/Start is the official starting point for setting up your Trezor hardware wallet, guiding you through the process step-by-step. Whether you are completely new to crypto or have years of experience, this setup ensures your digital assets remain secure and under your full control.
Why Choose Trezor?
Trezor is a trusted hardware wallet brand used by millions worldwide. It offers offline storage, meaning your private keys are never exposed to the internet, drastically reducing the risk of hacks or phishing attacks. Trezor.io/Start is the official onboarding platform that walks you through initialization, firmware installation, wallet creation, and backup management.
By using Trezor.io/Start, you ensure you’re downloading authentic firmware, following the correct steps, and setting up your wallet in a secure environment. This is crucial because downloading from unofficial sources can compromise your device and put your crypto at risk.
Step 1 – Connecting Your Trezor Device
When you visit Trezor.io/Start, the first instruction is to connect your Trezor device to your computer using the USB cable provided. Trezor offers two main models:
Trezor Model One – The classic, affordable option.
Trezor Model T – A premium version with a color touchscreen and advanced features.
Once connected, your computer will recognize the device, and you’ll be prompted to continue the setup on the Trezor Suite application.
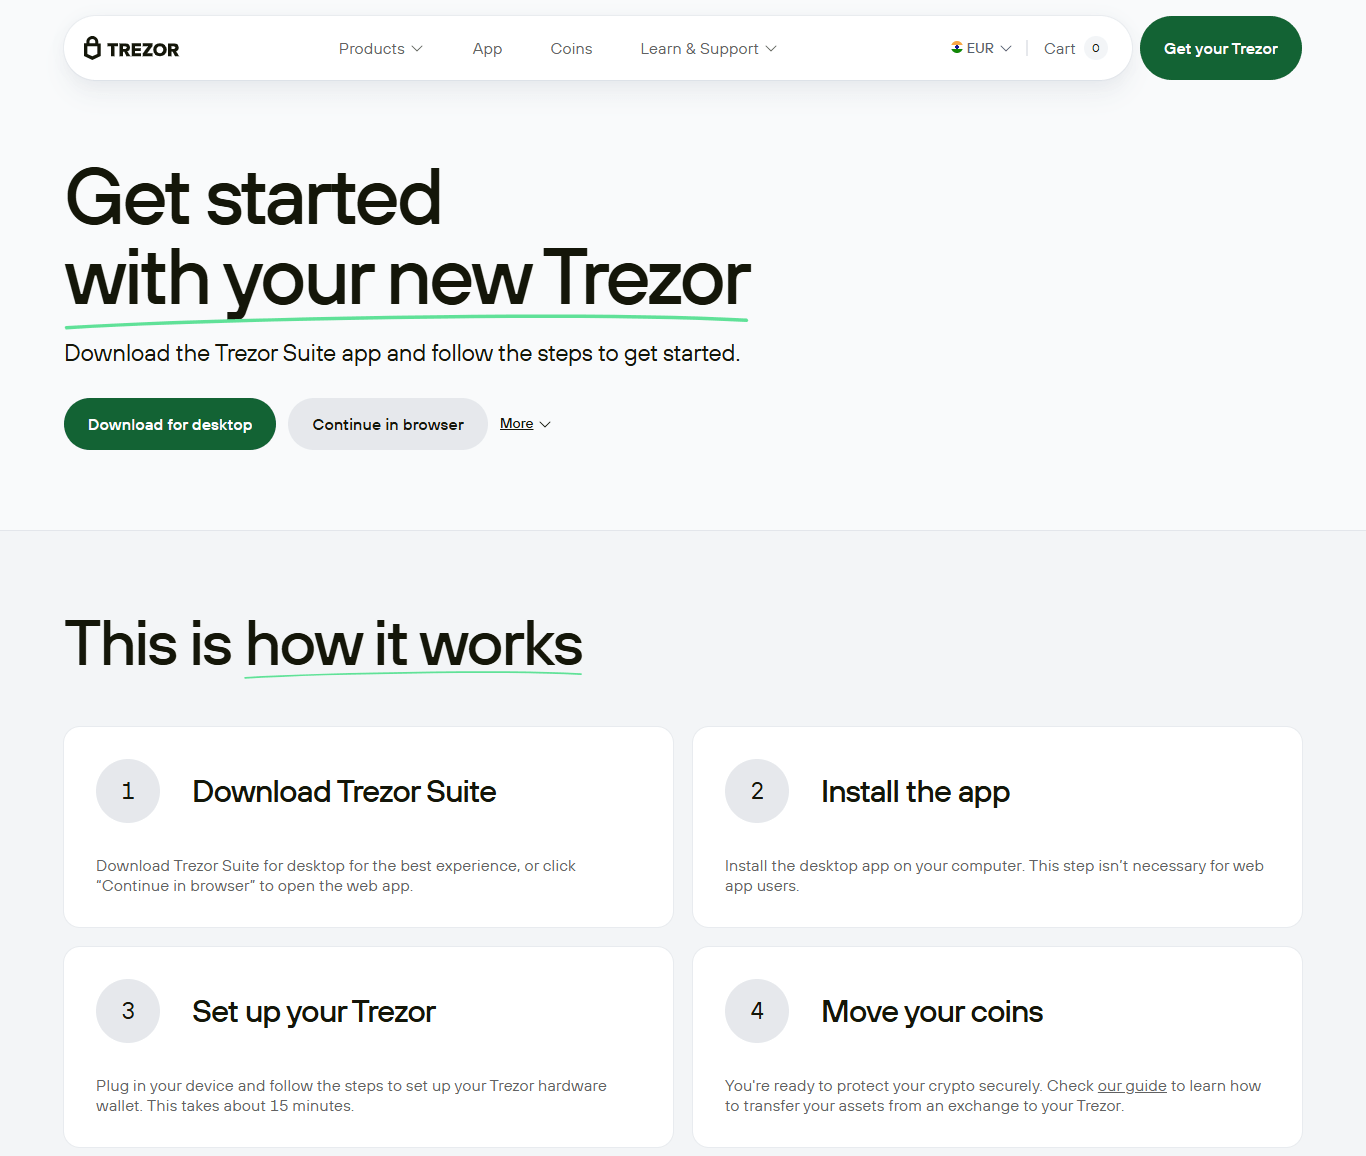
Step 2 – Installing Trezor Suite
Trezor Suite is the official desktop and web application for managing your crypto assets. Through Trezor.io/Start, you’ll be directed to download the latest version. Installing from the official link ensures the software is authentic and free from malicious modifications.
With Trezor Suite, you can:
Send and receive cryptocurrencies
View your portfolio balance
Manage multiple accounts
Update device firmware
Access advanced security settings
Step 3 – Firmware Installation
When setting up for the first time, your Trezor might not have firmware pre-installed. Trezor.io/Start will guide you through this step, ensuring you get the latest version directly from Trezor’s servers. Installing official firmware is essential for security because it verifies the integrity of your device and protects against counterfeit hardware.
Step 4 – Creating a New Wallet
Once the firmware is installed, Trezor.io/Start will give you the option to create a new wallet or recover an existing one. Creating a new wallet generates a set of private keys securely inside your device. These keys never leave the Trezor, ensuring your crypto stays safe from online threats.
During wallet creation, you’ll be provided with a recovery seed phrase—a sequence of 12, 18, or 24 words. This phrase is your ultimate backup and can restore your wallet if your device is lost or damaged.
Step 5 – Backing Up Your Recovery Seed
Trezor.io/Start emphasizes this step because your recovery seed is the only way to regain access to your funds if something happens to your wallet. You should:
Write it down on paper (never store it digitally)
Keep multiple copies in different secure locations
Never share it with anyone
Avoid taking photos or screenshots of it
Anyone who has your recovery seed can control your funds, so treat it with the highest level of caution.
Step 6 – Setting a PIN
To protect against unauthorized physical access, Trezor.io/Start will prompt you to set a PIN code for your device. This adds a layer of security so that even if your Trezor is stolen, your funds remain inaccessible without the correct PIN.
Step 7 – Exploring Trezor Suite
After setup, you can start exploring Trezor Suite. Through Trezor.io/Start, you’ll learn how to:
Send and receive crypto transactions
Add and manage multiple cryptocurrencies
View transaction history
Enable advanced security features like passphrases
Connect to third-party wallets if needed
Security Best Practices
While Trezor.io/Start makes setup easy, you should follow these best practices:
Only buy Trezor from official sources
Regularly check for firmware updates
Double-check addresses before sending funds
Use a secure and private internet connection when managing your wallet
Keep your recovery seed safe and offline
Conclusion
Trezor.io/Start is your official gateway to setting up and securing your Trezor hardware wallet. By following the guided steps—connecting your device, installing Trezor Suite, setting up firmware, creating a wallet, and securing your recovery seed—you ensure your crypto is stored in one of the safest environments possible.
In the world of digital assets, security is non-negotiable. With Trezor and Trezor.io/Start, you gain peace of mind knowing your cryptocurrencies are protected against both online and offline threats.